Turn a Hand Sketch Into a Photorealistic Render With AI
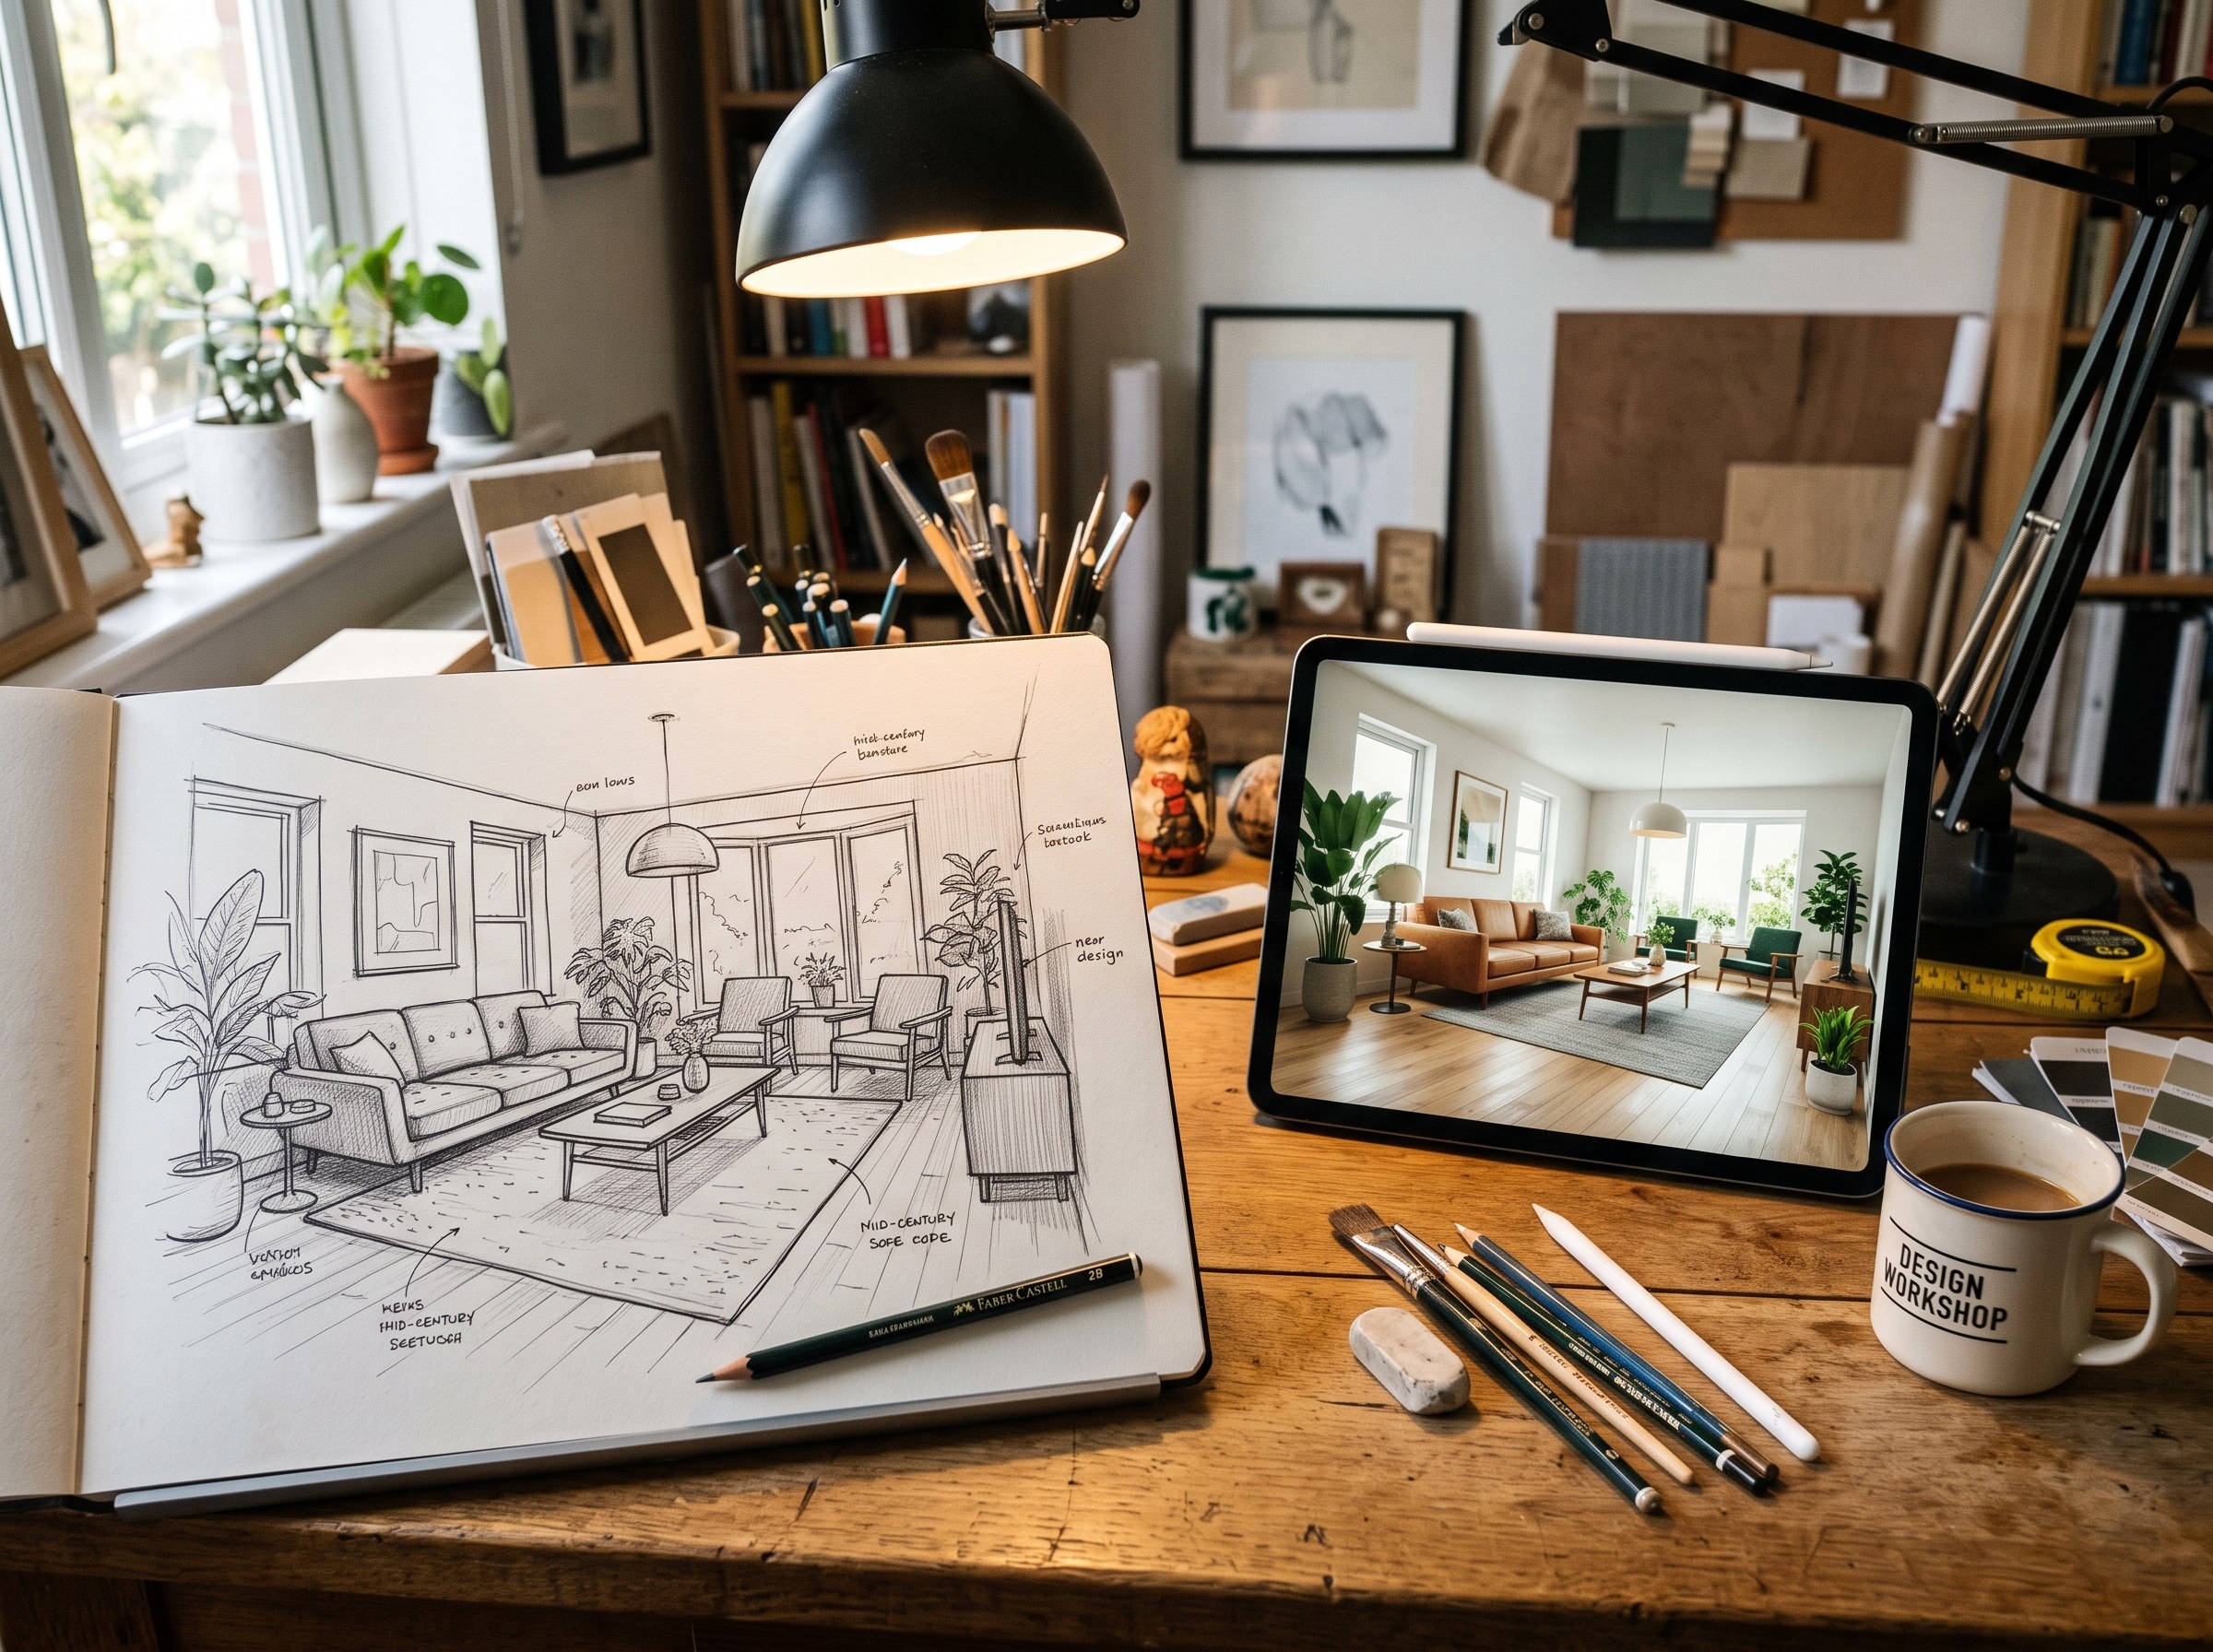
The short answer: yes, you can turn a hand sketch into a photorealistic render in minutes with AI, no 3D modeling software required. Photograph or scan your sketch, upload it to RoomLab.app's architectural render tool, describe the materials and lighting you want, and the AI generates a client-ready image while preserving your sketch's perspective and composition. In 2025, 44% of architects already used AI to generate concept images from sketches and rough inputs, according to the Chaos 2025 State of ArchViz survey of more than 1,000 professionals (Chaos ArchViz Report, 2025). This is no longer a novelty workflow.
This guide walks through the exact process: what you need before you start, the step-by-step workflow from sketch to finished render, how to write a prompt that keeps your sketch's composition intact, common mistakes to avoid, and what AI rendering still cannot do with a sketch alone.
Key takeaways
- A sketch is enough to start: you don't need a finished 3D model or CAD file. A clear, well-lit photo of a pencil or marker sketch is a valid input for AI rendering.
- Adoption is already mainstream: 44% of architects use AI to generate concept images from inputs like sketches (Chaos 2025).
- Prompt wording controls how much the AI changes: describing materials and lighting while asking the tool to keep the composition, camera angle, and proportions produces the most faithful result.
- AI rendering will not fix bad perspective or generate exact measurements: it renders what the sketch shows. Structural accuracy still comes from you.
What do you need to turn a sketch into a render?
You need three things: a clear image of your sketch, an AI rendering tool, and a written description of the materials, lighting, and mood you want. Nothing more. There's no requirement for CAD software, a 3D model, or specialized hardware.
The sketch itself can be rough. A quick perspective drawing on paper, a marker concept on trace, or a digital sketch from an iPad all work. What matters most is that the key lines are legible: the room's proportions, the main furniture or structural elements, and the vantage point you're drawing from. A sketch with a clear, single-point or two-point perspective produces a far more accurate render than a flat elevation with no depth cues.
How do you turn a hand sketch into a photorealistic render with AI?
The process takes about five minutes for a first pass and a few more rounds if you want to refine materials or lighting. Here's the exact workflow.
Step 1: Photograph or scan your sketch
Use natural, even light and shoot from directly above the paper to avoid distortion from a camera angle. A flatbed scanner works too, if you have one. Avoid shadows falling across the drawing and make sure the full sketch is inside the frame. The sharper the input, the more accurately the AI can read your linework and translate it into a render.
Step 2: Upload it to RoomLab.app
Open RoomLab.app's architectural render tool and upload the photo of your sketch. The AI reads the composition, the perspective lines, and the rough shapes of furniture, walls, and openings as the structural basis for the render.
Step 3: Write a prompt that preserves your sketch's composition
This is the step that determines whether the output looks like your design or a generic room. Describe the materials ("white oak flooring, matte black window frames, plaster walls"), the lighting ("late afternoon light from the left window"), and the mood ("warm, minimal, Scandinavian"). Then explicitly ask the tool to keep the camera angle, proportions, and layout from the sketch. The custom prompt feature gives you full control over this wording instead of picking from a fixed style list.
Step 4: Generate and review the first pass
The render generates in under a minute. Check three things first: does the perspective match your sketch, do the proportions of the room look right, and is the vantage point the one you drew from. If any of these are off, the fastest fix is usually a clearer input sketch rather than a longer prompt.
Step 5: Refine materials, lighting, and details
Once the structure looks right, iterate on the details. Swap the flooring material, adjust the light source and time of day, or add finishing touches like furniture texture or wall art. Each iteration takes seconds, so it's practical to generate three or four material variations and compare them side by side before presenting to a client.
How many architects already use AI to render sketches?
In 2025, 44% of architects reported using AI to generate concept images, a figure drawn from the Chaos 2025 State of ArchViz survey of more than 1,000 architecture and visualization professionals (Chaos ArchViz Report, 2025). Sketch-to-render is one of the most common entry points into that workflow, since it fits naturally into the early concept stage, before a full 3D model exists.
For a broader look at where AI rendering fits across the full design process, from early concept sketches to client-ready presentation images, see our complete guide to AI architectural rendering.
What makes a sketch-to-render prompt effective?
The strongest prompts separate two things clearly: what should stay the same and what should change. State explicitly that the camera angle, room proportions, and layout should match the sketch, then describe every material, light source, and finish you want to see. Vague prompts like "make it look nice" hand too much creative control to the model and often drift away from your original composition.
Specificity helps more than length. "Walnut cabinetry, brushed brass hardware, soft morning light from the east-facing window, warm neutral palette" gives the AI concrete anchors. A one-line prompt with no material or lighting detail leaves those choices to chance, and you'll likely need more rounds of regeneration to land on a result you like.
What are common mistakes when converting a sketch to a render?
The most frequent issue is an unclear input sketch: faint pencil lines, a cluttered page with multiple overlapping drawings, or a perspective that's ambiguous about which wall is which. The AI can only work with what it can read, so a clean, single sketch photographed in good light will always outperform a messy one.
The second common mistake is over-specifying style at the expense of structure. A prompt that describes ten different materials and moods but never mentions preserving the sketch's camera angle or proportions often produces a render that looks great on its own but no longer matches the design you drew. Anchor the structural instructions first, then layer in style.
What can AI rendering not do with a sketch alone?
AI rendering produces a photorealistic visual, not a set of construction documents. It won't generate exact measurements, structural calculations, or code-compliant details, and it can't correct a fundamentally flawed perspective drawing into an architecturally accurate one. Treat the output as a concept visualization for client conversations and early design decisions, not as a substitute for drafting or engineering work.
It also won't infer information that isn't on the page. If your sketch doesn't show a ceiling height or ignores a structural column, the render won't invent the correct answer. The tool renders what you give it, which is exactly why a clear, well-considered sketch produces a far more useful result than a rushed one.
Frequently asked questions
Can AI turn any hand sketch into a render, even a rough one?
Yes, as long as the perspective and main proportions are legible. A rough sketch with a clear vantage point works better than a detailed sketch with an ambiguous or flattened perspective. If the AI can read where the walls, floor, and openings sit, it can generate a render from it.
Do I need a 3D model or CAD file to use AI rendering?
No. A photo or scan of a hand sketch is a valid input on its own. AI rendering tools like RoomLab.app's architectural render tool are designed to work from photos, sketches, or 3D model screenshots, so you can start at whichever stage of the design process you're already at.
How long does it take to turn a sketch into a render?
The first render typically takes under a minute to generate once your sketch is uploaded and your prompt is written. Photographing the sketch and writing the prompt usually takes a few minutes total, so a full first pass is realistic within about five minutes.
Will the AI change my sketch's composition or perspective?
It can, if the prompt doesn't explicitly ask it not to. Stating clearly that the camera angle, proportions, and layout should match the sketch keeps the AI anchored to your composition. Without that instruction, the model has more room to interpret the scene freely.
Is AI sketch-to-render accurate enough for client presentations?
For concept and early design presentations, yes. The renders are photorealistic and effective for communicating materials, lighting, and mood to a client. They are not a substitute for construction documents, so pair them with your usual drawings and specifications for anything that needs to be built to exact measurements.
Sources
- Chaos, 2025 State of ArchViz Report (survey of 1,000+ architecture and visualization professionals, 2025), retrieved 2026-08-02.
Ready to Transform Your Space?
Start creating stunning room transformations in minutes. Sign up and try it yourself!
More Articles
Best AI Real Estate Video Tools in 2026
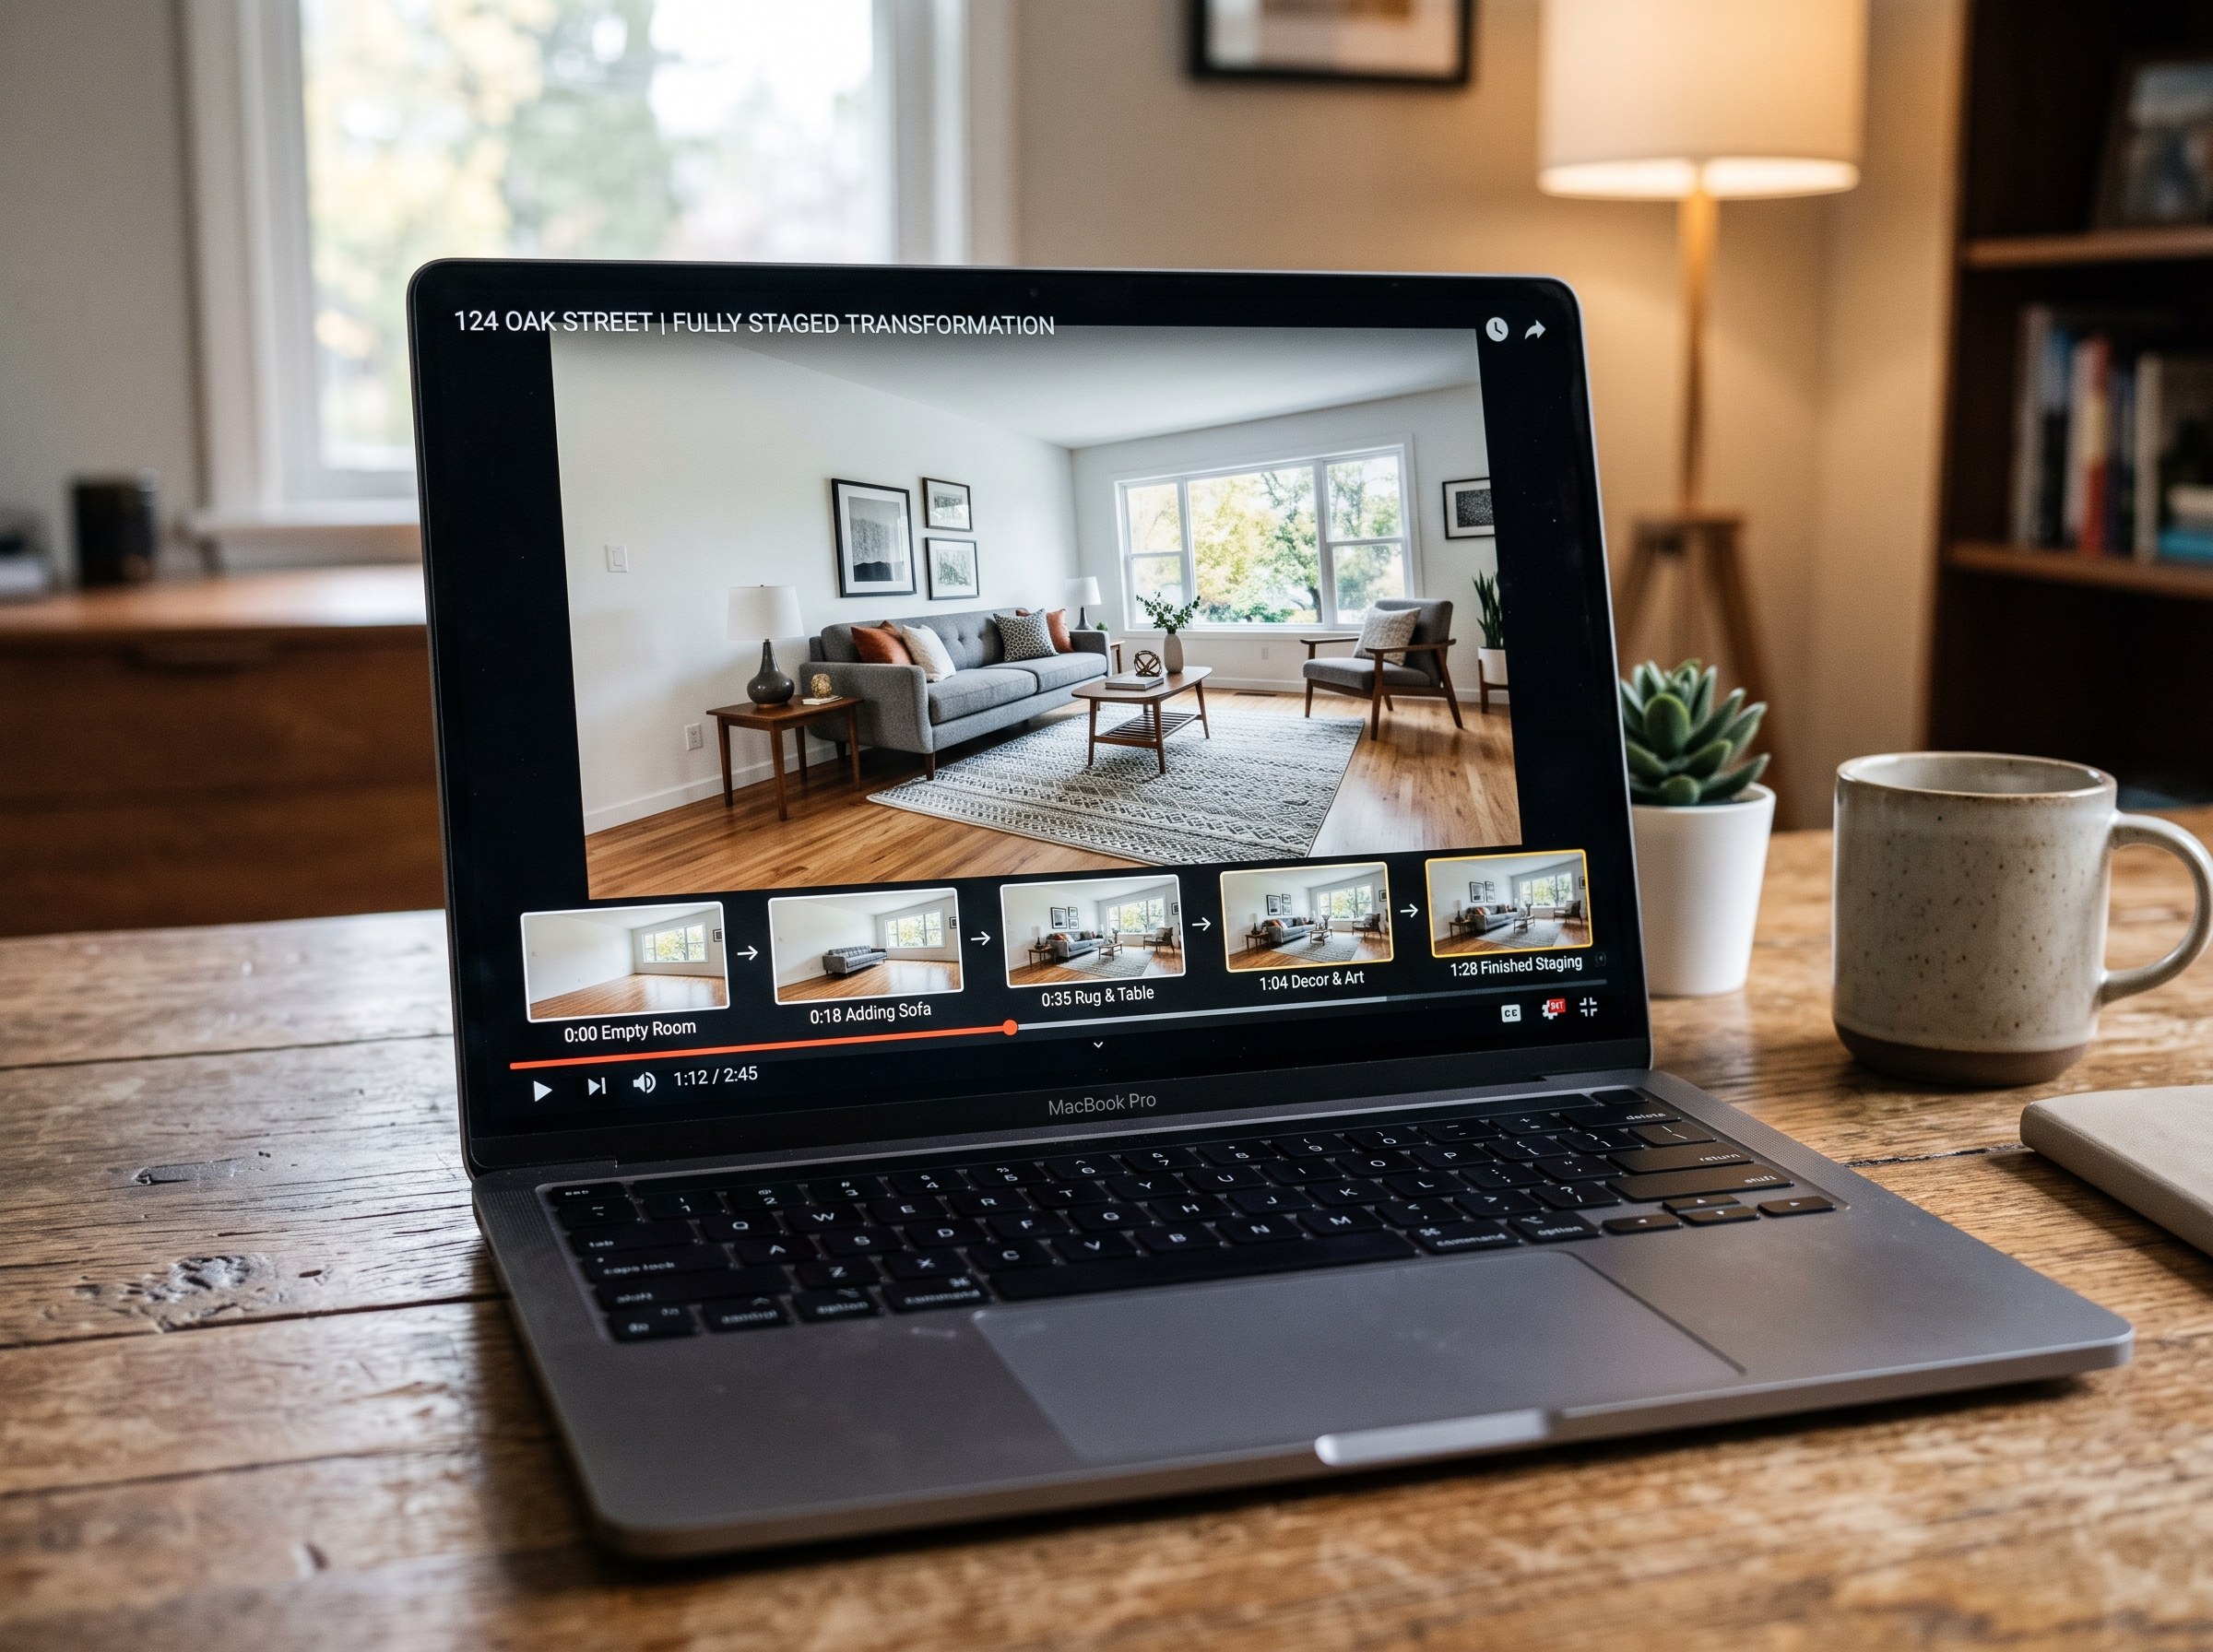
We tested 7 AI real estate video makers, including AutoReel, InVideo and Betterspace.ai. RoomLab.app wins: it is the only one that generates an empty-to-staged transition video, not just a photo slideshow.
12 min read
Best AI Paint Color Visualizer Apps in 2026
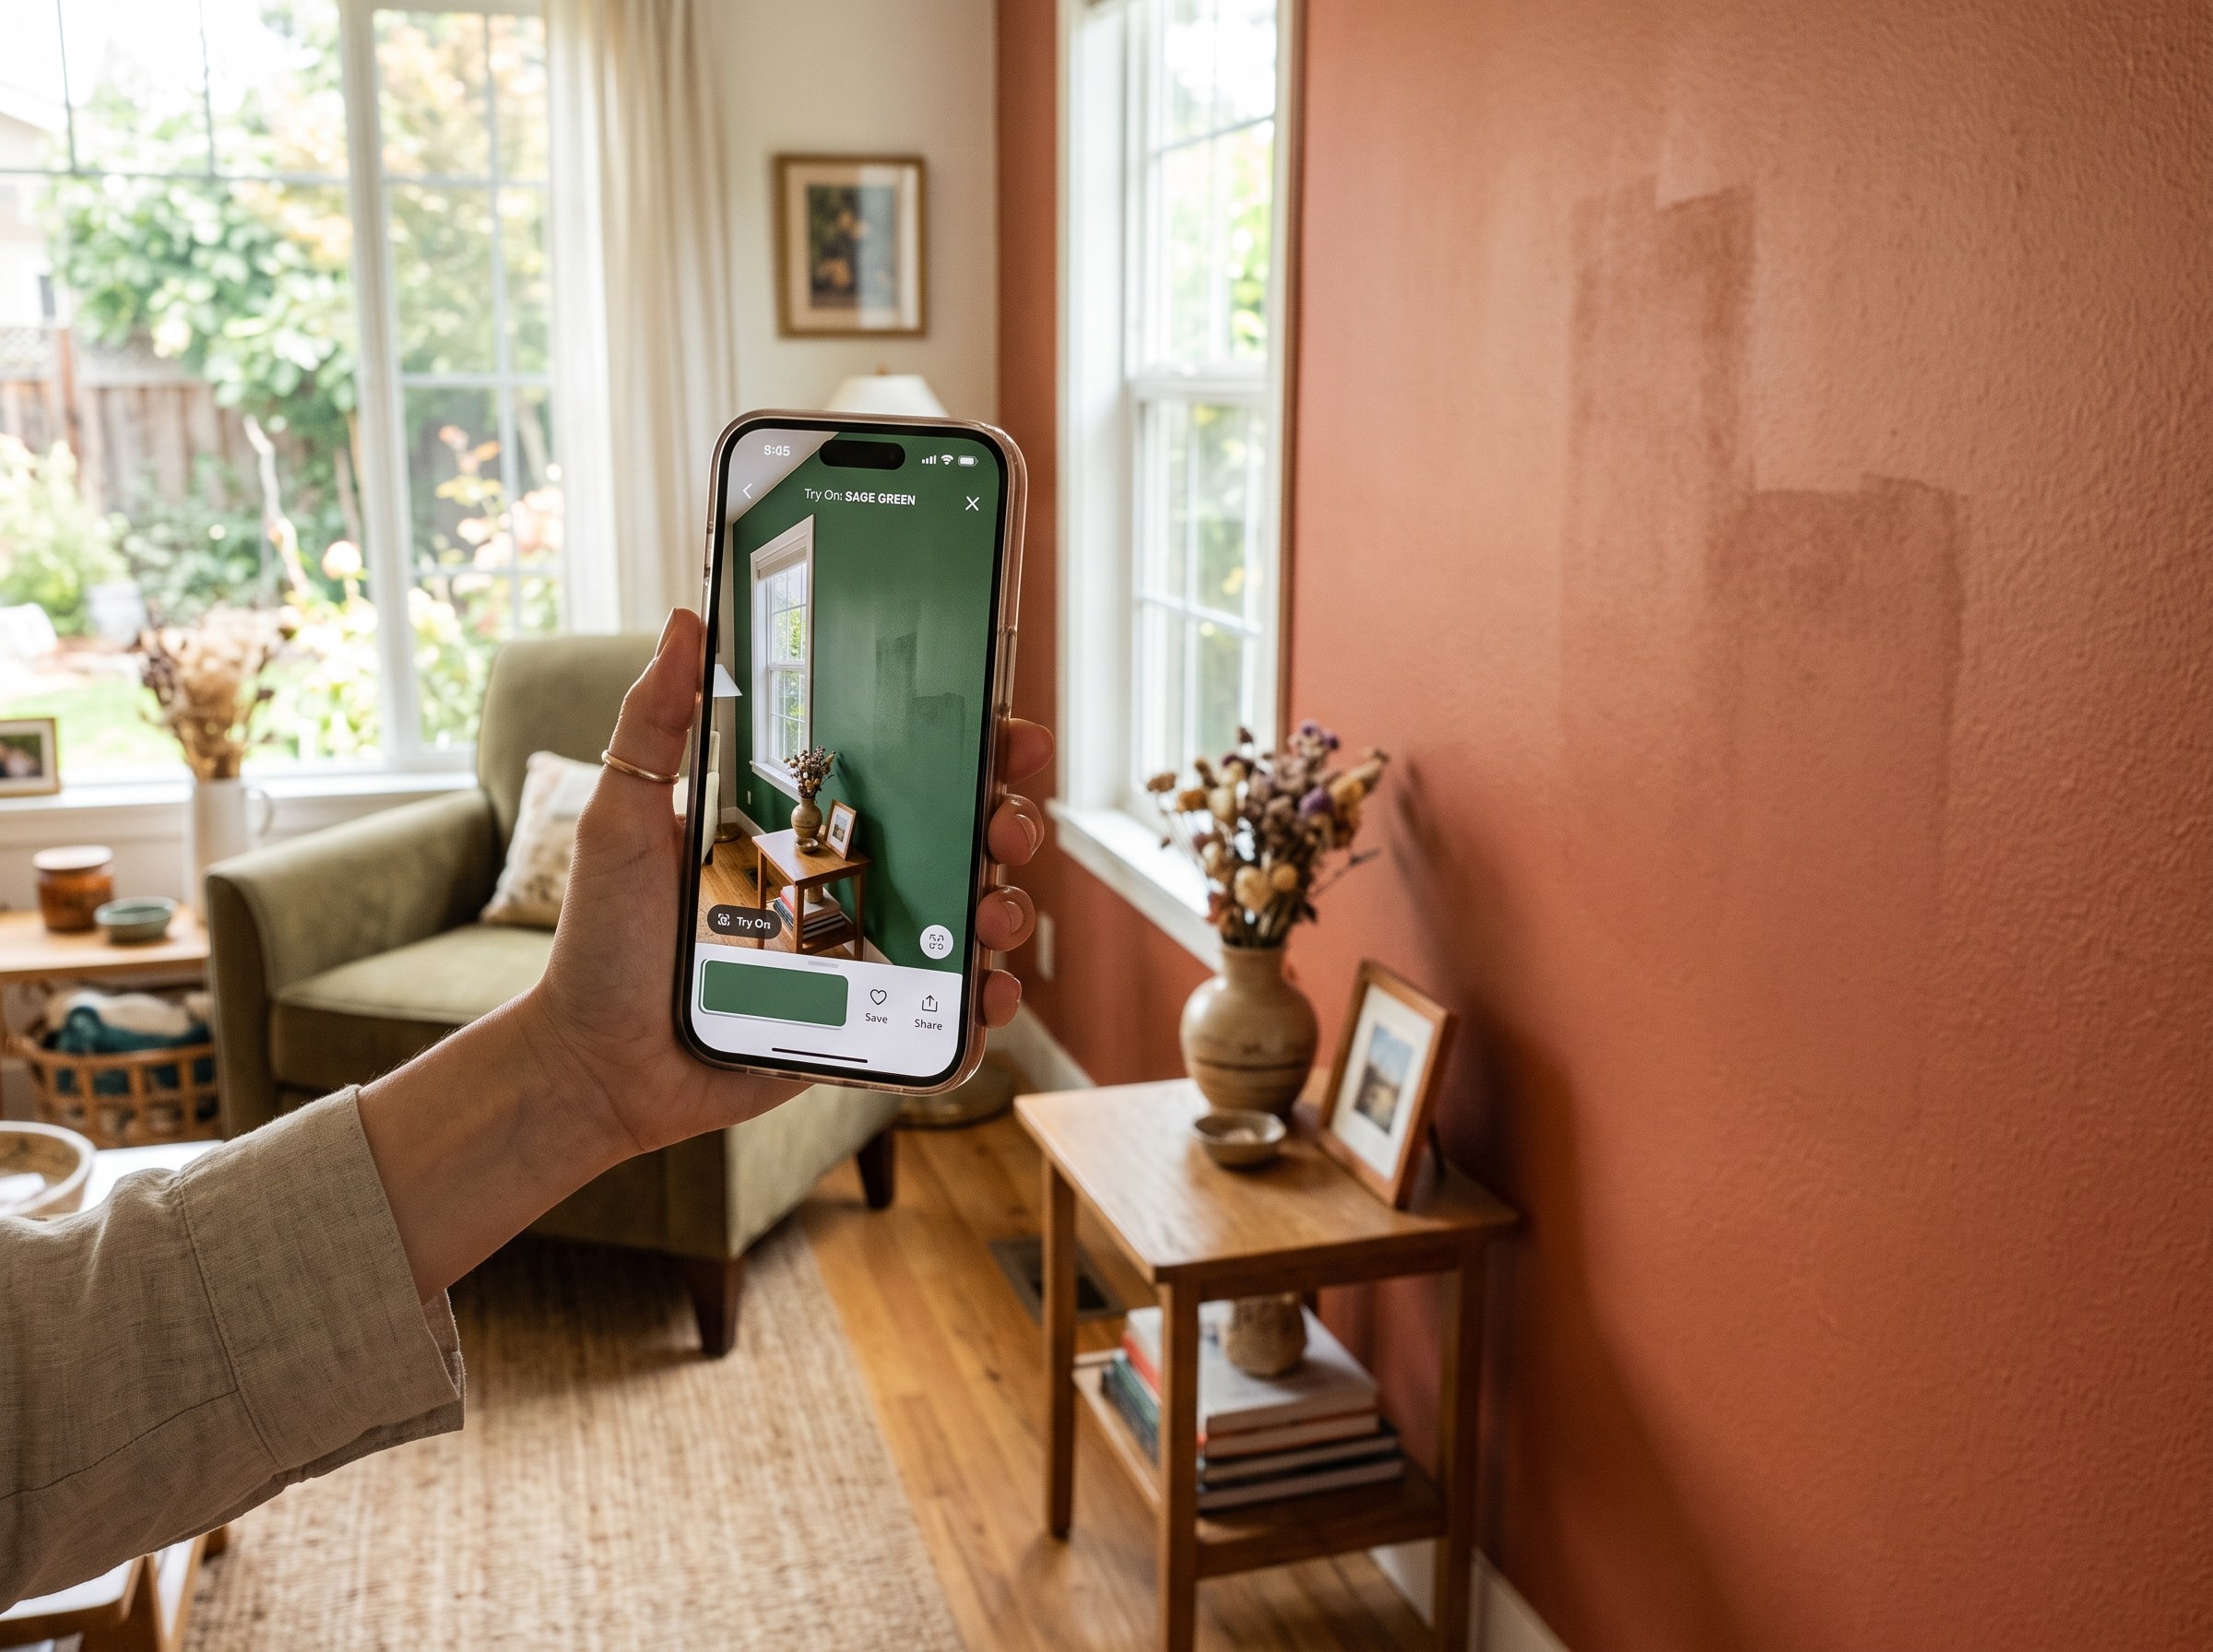
We tested 6 AI paint color visualizer apps that preview color on your own room photo. 15% of homeowners regret their paint color (Slickdeals 2023); RoomLab.app fixes that before you buy a gallon.
11 min read
Best AI Tools to Swap Furniture and Materials in a Room (2026)
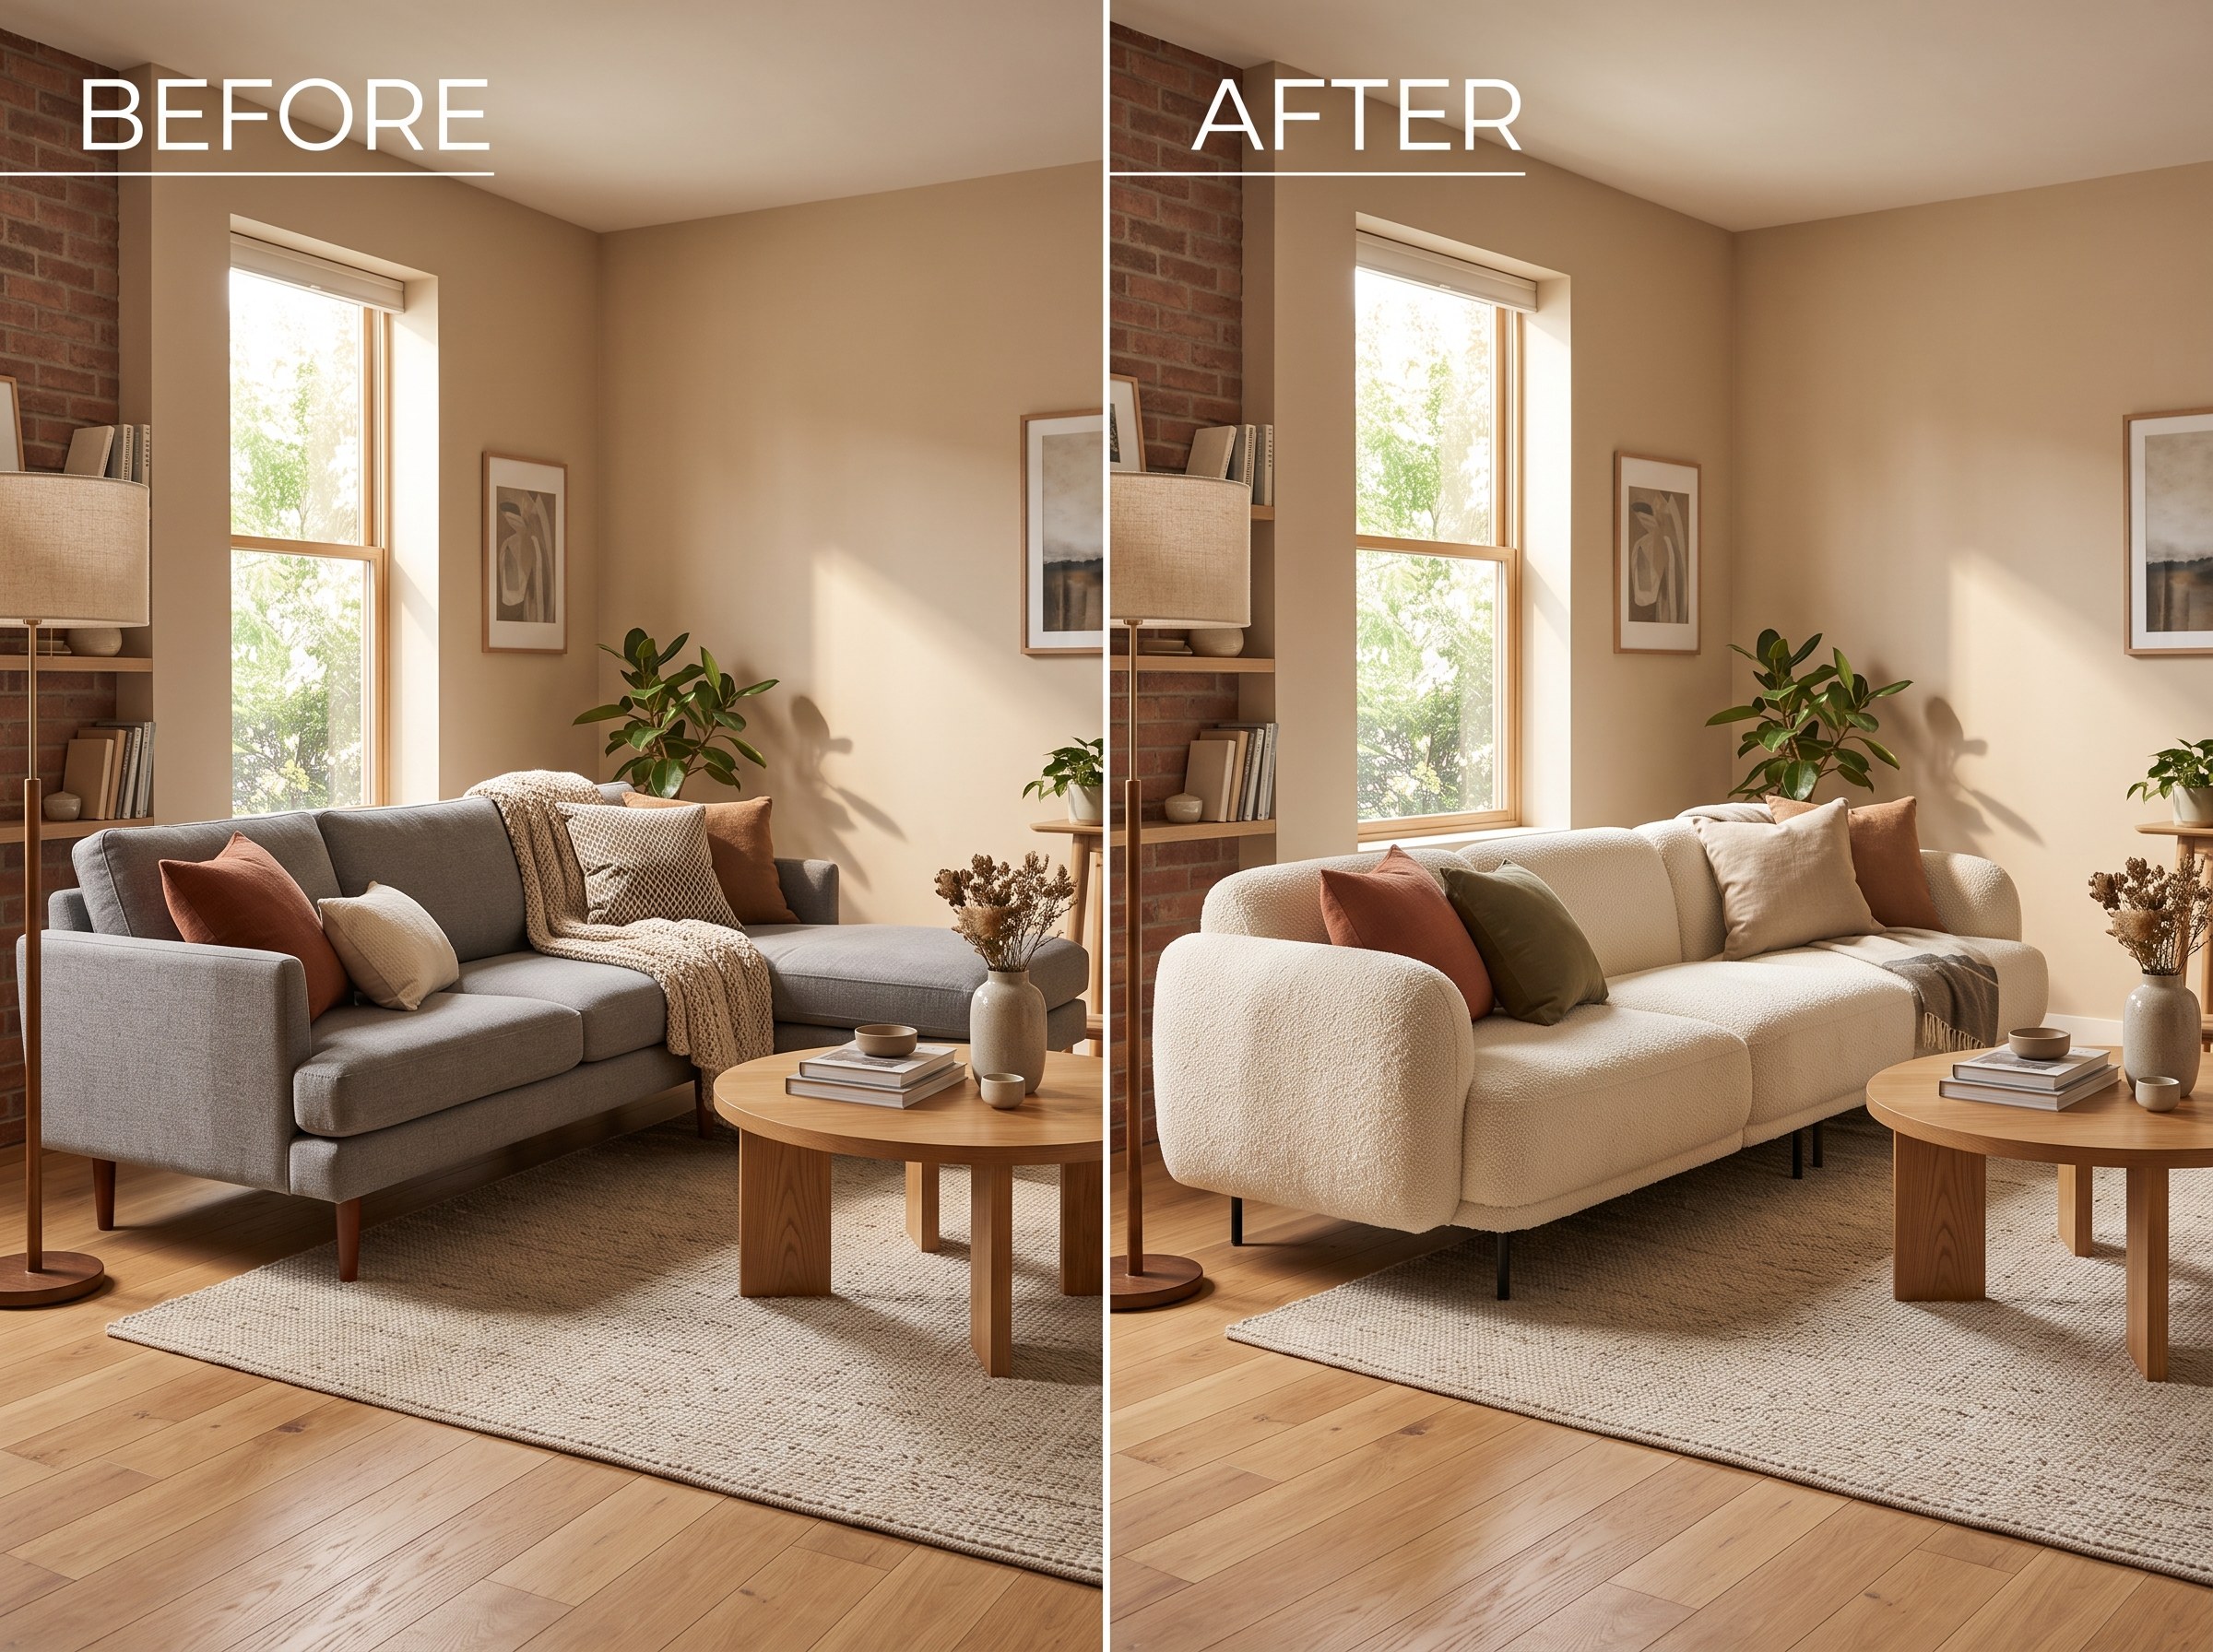
We tested 7 AI tools that swap furniture or materials in a room photo and ranked them. RoomLab.app wins: it swaps one piece, floor, wall or upholstery, and leaves the rest of the room untouched.
12 min read